Cheers, Charles Edge
Today, the Mac Admins community learned that Charles Edge has passed away. My interactions with Charles were brief but very memorable. Charles was the moderator for a JNUC security round-table that...
Today, the Mac Admins community learned that Charles Edge has passed away. My interactions with Charles were brief but very memorable. Charles was the moderator for a JNUC security round-table that...

I can’t believe I have to write about this again…but here we are. Conference planners and companies, why are you so bad at choosing locations and dates? A little over a week ago, the Mac Admins Fo...
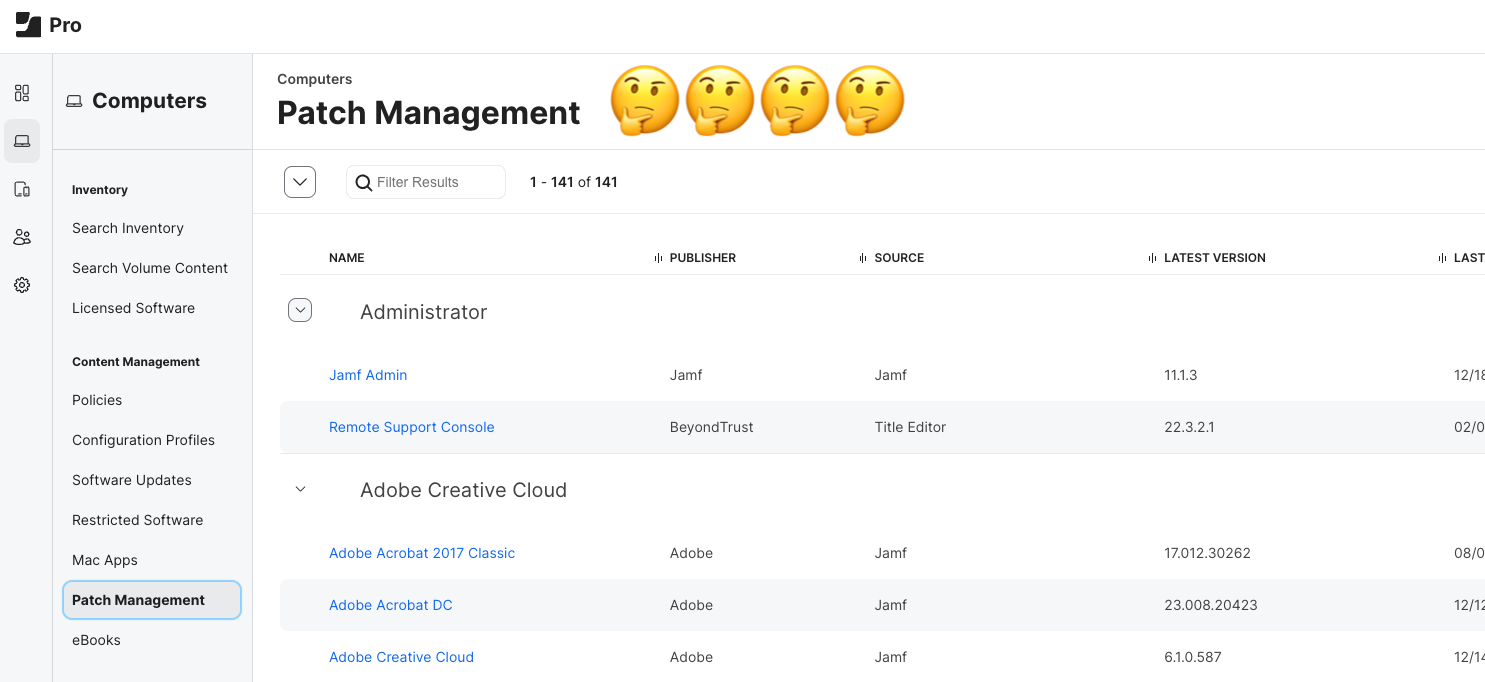
Let’s be honest, Jamf hasn’t done a great job with it’s patch management since it was released back in 2016 or so. Actually, patch management started as patch reporting which simply reported on ver...
Sometime last year, I started working with the gang that created the macOS Security Compliance project. First, if you’re not familiar with the project, head to the link above but I highly recommend...
I’m going to keep this post as simple as possible and do my best attempt to keep is as civil as possible, but I can already tell you I’ll probably drop a few choice words here that may not be “prof...