Automatically match Parallels VM to Mac name
Having Parallels in your environment is great, unfortunately some issues come into play when you’re trying to push out a customized VM to your users. One of the problems we ran into was the name of the machine; if you’re pushing out one VM image you’re going to see tons of duplicate names on your network. What if you could change the VM name to the name of the host without having to worry about asking the user to do it? Well, that was a task I was given and I feel that I resolved it successfully. This was all tested with Parallels Desktop 11 and a Windows 10 Professional VM.
Using a few scripts (which can be found here) you can accomplish this fairly easily.
First, you need to get your VM set up properly. Make sure your VM had at least two accounts; an admin and a standard user (unless you don’t care if your end-users are admins). Log in to the user you will want your end-users to use to make sure that initial account creation is completed. Next, set your admin user to auto-login and get your Windows environment set up the way you want it with your applications, updates, and activation. Also make sure that you give your VM access to ‘/Users/Shared/’ on your host Mac, you’ll see why later.
Once you have it all ready, you have to drop some scripts into ‘C:\Users\Public\’. The first script is a PowerShell script:
1
2
3
4
5
6
7
8
9
10
11
12
13
14
15
16
17
if (!([Security.Principal.WindowsPrincipal][Security.Principal.WindowsIdentity]::GetCurrent()).IsInRole([Security.Principal.WindowsBuiltInRole] "Administrator")) {
Start-Process powershell.exe "-NoProfile -ExecutionPolicy Bypass -File `"$PSCommandPath`"" -Verb RunAs; exit
}

$hostMac = Get-Content \\Mac\Home\Public\hostname
$newName = "vm-$hostMac"

echo "Renaming Compter to $newName"
Rename-Computer -NewName $newName

echo "Setting up UArts-User account to auto-login with no password."
cmd.exe /c 'C:\Users\Public\autoLogin.bat'

echo "RESTARTING VIRTUAL MACHINE NOW!!!!!!!!"
sleep 1
echo "The answer is 42"
Restart-Computer
This script takes the name from a file which we will create on the host machine and rename the machine to vm-machostname. This PowerShell script gets called by a simple batch file which is also placed in ‘C:\Users\Public\’:
1
powershell.exe -executionpolicy unrestricted -file C:\Users\Public\RenameVMfromMAC.ps1
Finally, you have to place the auto-login batch file in ‘C:\Users\Public’:
1
2
3
4
5
6
7
8
@echo off

REM --------------------------------------------------------------------------------
REM Enable Auto login
REM --------------------------------------------------------------------------------
reg add "HKLM\SOFTWARE\Microsoft\Windows NT\CurrentVersion\Winlogon" /v "AutoAdminLogon" /t REG_DWORD /d 1 /f
reg add "HKLM\SOFTWARE\Microsoft\Windows NT\CurrentVersion\Winlogon" /v "DefaultUserName" /t REG_SZ /d "YOUR WINDOWS USER" /f
reg add "HKLM\SOFTWARE\Microsoft\Windows NT\CurrentVersion\Winlogon" /v "DefaultPassword" /t REG_SZ /d "USER PASSWORD" /f
Now that you have the scripts in place, we want to run them on the next boot but only one time. Thankfully we have our handy RunOnce registry key. So, I just made a quick .reg file to add the batch file to the RunOnce key:
1
2
3
4
Windows Registry Editor Version 5.00

[HKEY_LOCAL_MACHINE\SOFTWARE\Microsoft\Windows\CurrentVersion\RunOnce]
"FirstRun"="c:\\Users\\Public\\firstrun.bat"
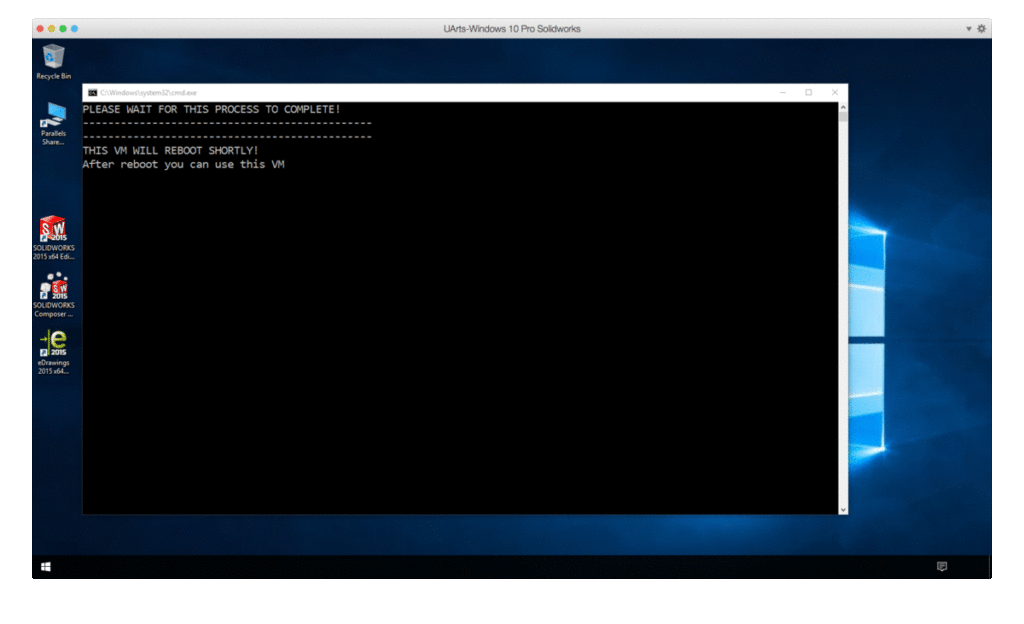
So, when you’re ready to package your VM, just run the reg file and shutdown your VM. Make sure you don’t boot this VM again because the next time it boots you will see that it runs the batch script which calls our PowerShell script which will set the computer name, set the standard user to automatically login then reboot the system.
Now the fun part, getting it to happen for the end-user! Package your VM and Parallels (or whichever program you’re using) and put it on your distribution server along with this bash script:
1
2
3
4
5
6
7
8
9
10
11
12
13
14
15
#!/bin/sh
#
#
# I wrote this simple script because we wanted to rename our Parallels VMs to the local Mac hostname
# We set the VM to automatically log into an admin account and run a powershell script to get the name
# from this file and rename the machine.  It then enables autologin for the student account and reboots
#
#

if [ ! -d /Users/Shared ]; then
  mkdir /Users/Shared
fi
localName='scutil --get LocalHostName'
$localName | head -c 12 > /Users/Shared/hostname
chmod 777 /Users/Shared/hostname
Pretty self explanatory, the script gets the hostname of the computer and drops it into ‘/Users/Shared/hostname’. Note that this script does truncate your hostame if it’s too long for a NetBIOS name; since “vm-” takes 3 chars away your name would be shortened to 12 characters. This file will be read by the Windows scripts and this is how your VM gets the host computer name.
When you’re pushing out the package with Casper Suite just have the script run before your install.
I’m always open to suggestions on making my code better, drop them in the comments!
